Blog
Panoramas
8/07/10
Not so long ago panoramas required specialised equipment including a panoramic head on a good tripod. There is still a role for this, but with the advances in stitching software, panoramas which can be printed to 4 metres and beyond can be taken with nothing more than a good DSLR and a sound technique. Firstly, you may or may not need a tripod. If you can confidently shoot handheld with a shutter speed fast enough to prevent shake, and get the image and effect you are after, then you may not need a tripod. This has the advantage of setup time and mobility. However, if you are stitching multiple rows, or shooting in low light, then a tripod is essential for alignment and preventing camera shake.
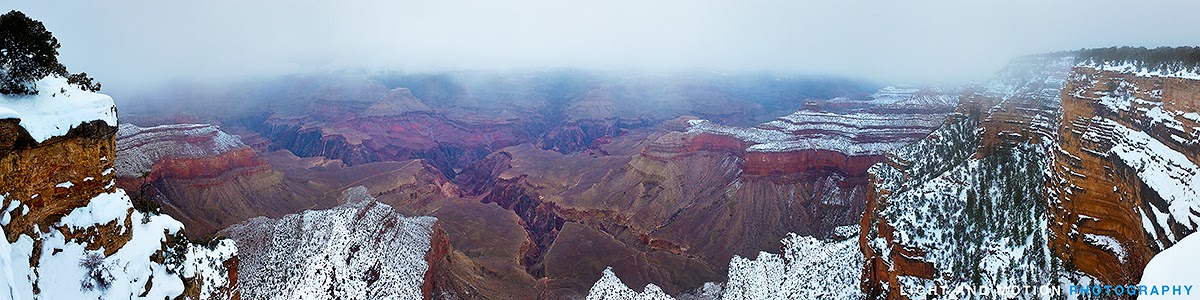
"Grand Canyon in Winter" was shot during a snowstorm, so even with a tripod; I didn’t have a firm or steady base for it to stand on.
“Mt Stromlo” was taken after riding up Mt Stromlo on my mountain bike with a backpack containing my camera, 2 lens and 3 litres of fluid. A tripod would have been difficult to ride with.

“Pali” was taken at a lookout with high winds,
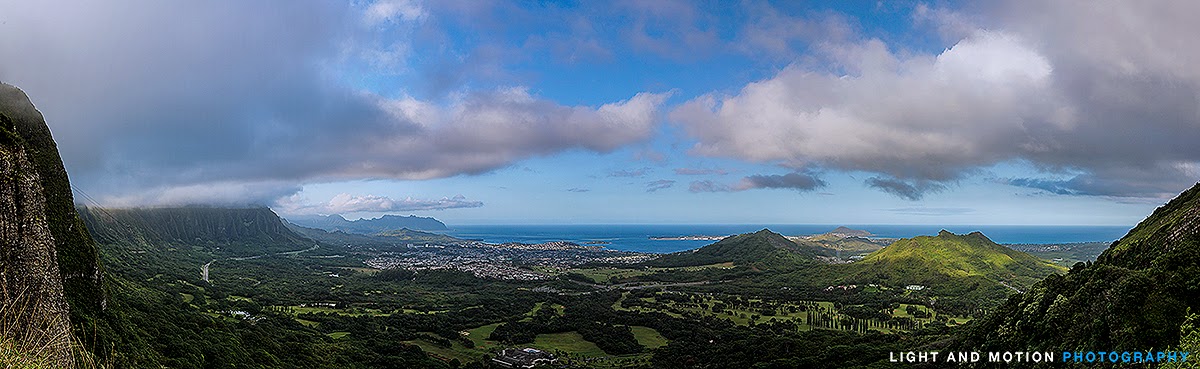
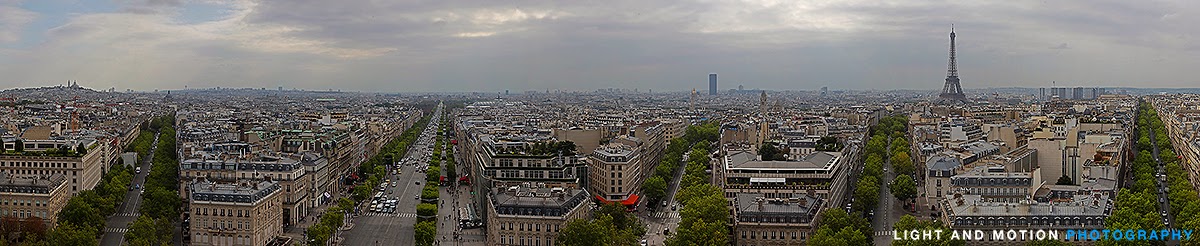
“Paris” was taken from the Arc de Triumph where even standing room was at a premium.
This image of the Singapore Grand Prix, Turns 1 and 2 was taken hand held in rapid sequence to capture the same car across multiple frames.
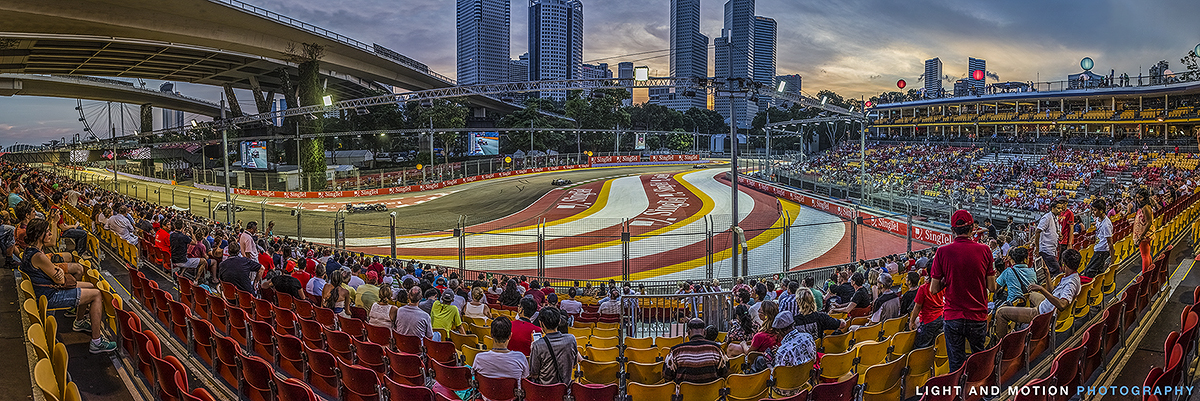
As a result all these were taken hand held, but they were all taken in excellent light.
The technique I use for hand held panoramas is to stand on a firm base, and shoot in portrait orientation (vertical) to maximise the view which will come in handy when I crop in post production. I expose for the sky and shoot in manual or AV mode to get constant DOF and consistent exposure across the frame. Make sure the circular polariser is not on (difficult to blend frames). I also manually set white balance even though I shoot in RAW, since auto white balance (AWB) may change across frames.
I use the gridlines on my focus screen to ensure the horizon is horizontal as I shoot across the scene. The general advice is to overlap by 1/3, but I find 50% is better to achieve seamless blending and stitching (the panoramas in this article are composed of between 12 ans 24 stitched images). Ensure that you rotate your body around an imaginary central axis. If using graduated ND filters, ensure the graduated area is where you want it to be for each frame. Generally it’s better to shoot more frames than less. On a tripod, I also shoot in portrait orientation. If you are not using a true panoramic head or gimbal, use at least a ballhead with a panoramic base that rotates independent to the ballhead. I use the Really Right Stuff BH-55. A L-plate for your camera is important if shooting in portrait orientation so that the centre of rotation is as close to the nodal point as possible. This is very much preferable to using the drop notch on the ballhead to get into portrait orientation (accentuates parallax errors).
Another suggestion is to avoid using focal lengths wider than 35mm for panoramas. Wider than this, there is significant distortion which may result in alignment errors when stitching. I generally use focal lengths between 35-70mm
There are many stitching programs, but I have found that Photoshop is still the best and CS6/CC is better than Elements. CS6 allows options of image blending, vignette removal and correction of Geometric distortion. Stitch in cylindrical mode and PS does the rest. CS6 has the advantage of content aware filling which means that you can content aware fill, rather than cropping too much of the panorama if your alignment is a little off. My workflow is generally to import all images into adobe camera raw, synchronize editing across all images, perform global adjustments (white balance etc), and then lens correct. I then import into CS6 for stitching.
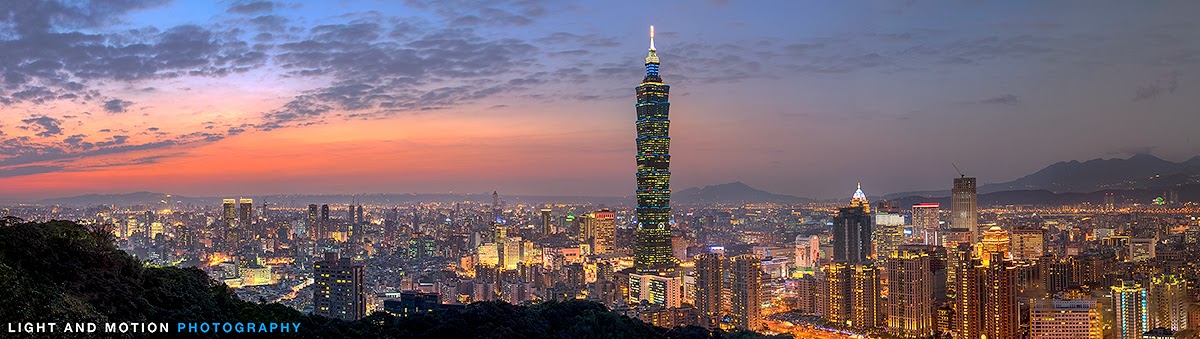
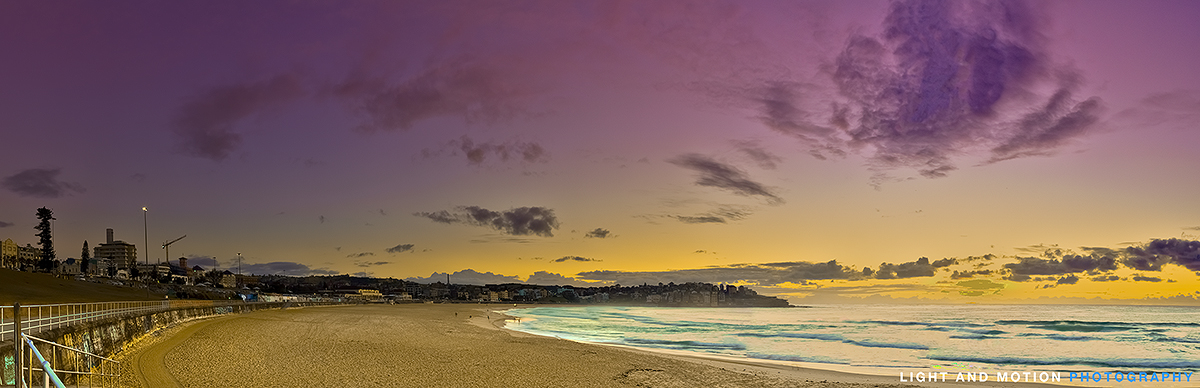
I still use tripods for panoramas if the lighting dictates (long exposure panoramas) and certainly for all sunrise and sunset panoramas. “Taipei 101” is an example of this as is “Bondi Beach”. This also eliminates alignment errors.
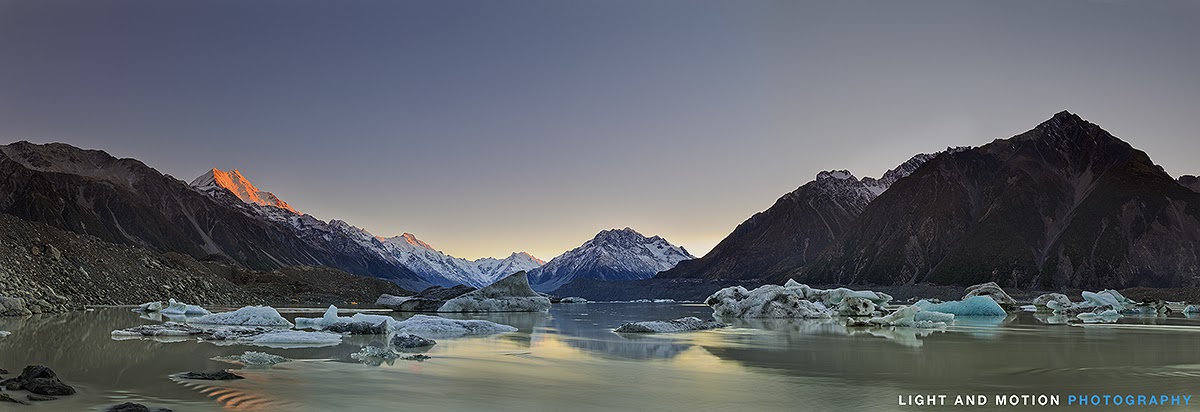
16 image panorama of Lake Tasman, Mt. Cook National Park. Taken from a tripod perched in icy waters.
Finally, don’t forget that you can stitch photos vertically (Petronas Towers)
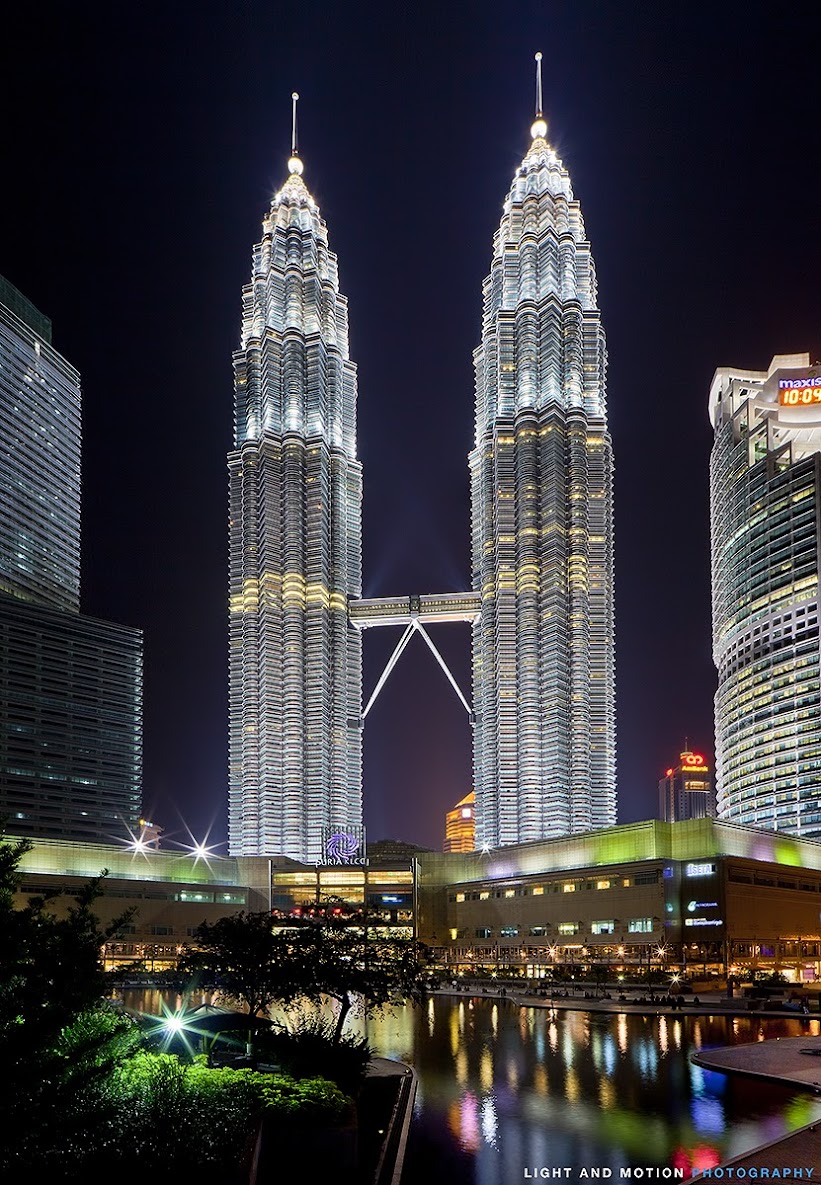
as well as horizontally, and you can even stitch 2 or more rows horizontally and vertically together. These photos can be printed to billboard size if you wish. Many of our framed images are panoramas, and the size helps provide the impact.
Comments (click to expand)